Build a Useful Agent with OpenAI’s Agents API: A Small Project That Teaches the Big Ideas
A step-by-step demo for building a support-triage agent with tools, a sandbox, approvals, subagents, and traces—without hiding the important engineering decisions behind a framework.
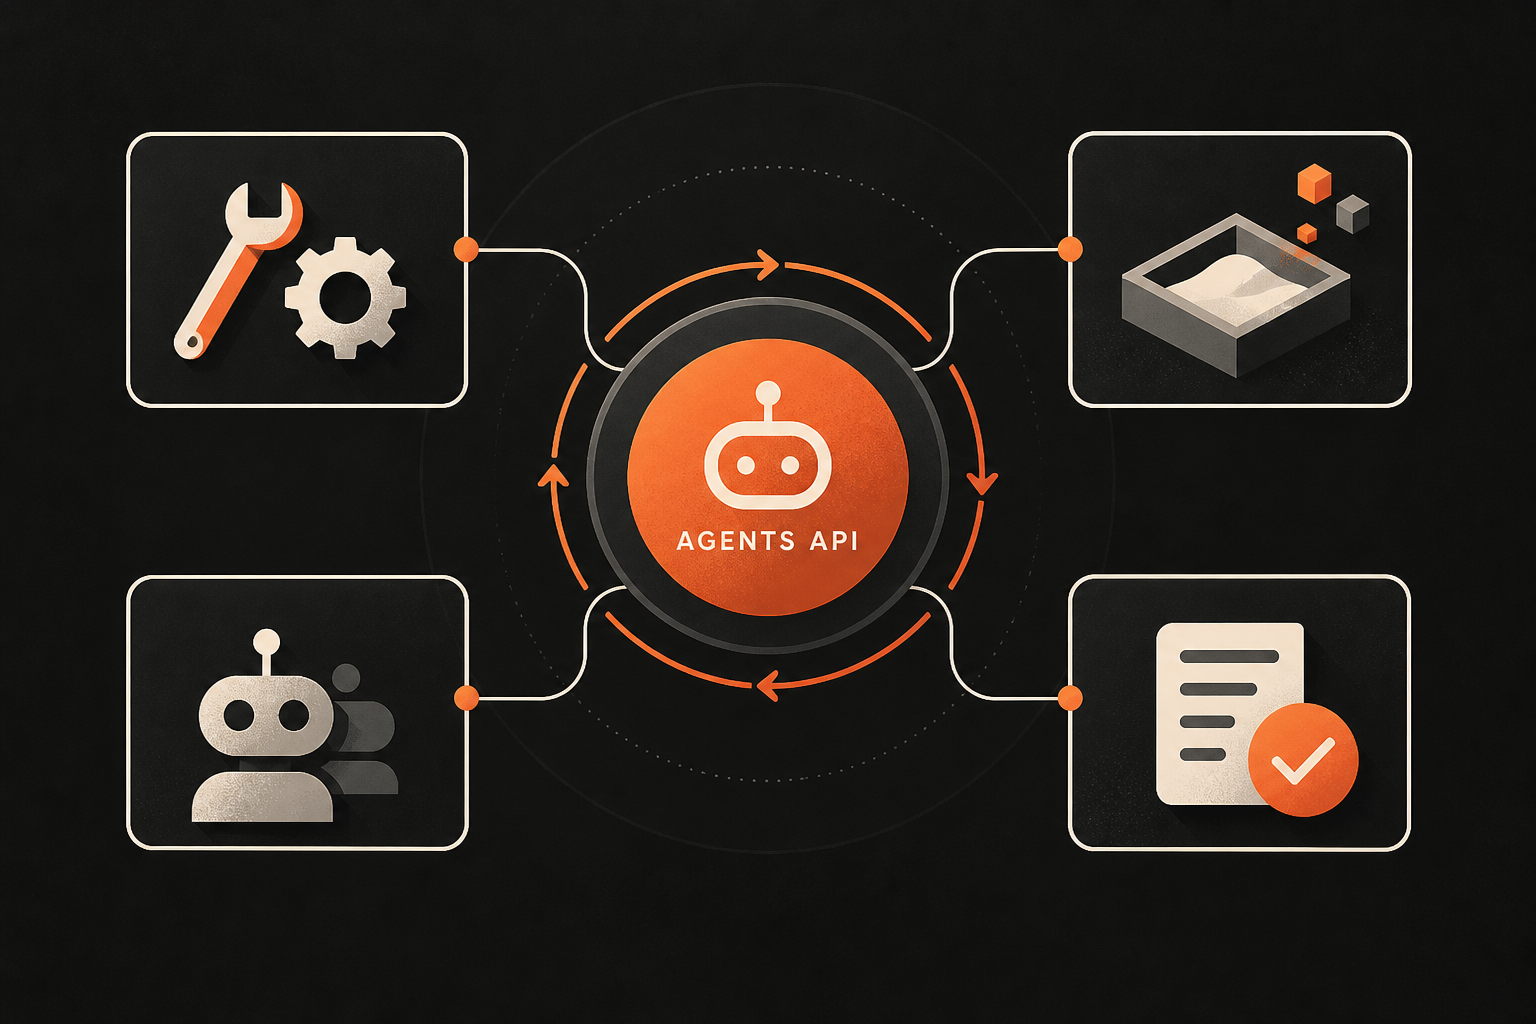
The new OpenAI Agents API packages a hard-won part of agent engineering: the harness around the model. OpenAI describes it as a public-beta API for running cloud agents with a managed harness, long sessions, tool use, subagents, and a choice of compute environment. You can use an OpenAI-managed sandbox, your own infrastructure, or a sandbox partner.
This guide turns that announcement into a small demo project: a support-triage agent that reads a ticket, looks up policy, drafts a response, and asks for approval before changing anything. It is intentionally boring. A boring workflow makes tool boundaries, cost, and failure handling visible.
What the API changes
The Agents API is not just a chat endpoint with a new name. It gives you a versioned way to use an evolving agent harness while keeping your product-specific tools and instructions in your code. OpenAI says the harness is designed to manage context, use tools efficiently, coordinate subagents, and keep work running across long sessions.
The design question moves from “how do I loop the model?” to “what should this agent be allowed to do, and what evidence proves it finished?”
The demo architecture
ticket -> triage agent -> policy tool -> draft response
                         |                |
                         v                v
                    research subagent  approval gate
                                          |
                                          v
                                     update ticket -> verify
The agent has four explicit boundaries:
- Read tools can inspect tickets and policy.
- A research subagent can gather context but cannot mutate data.
- The approval gate pauses before an external write.
- The write tool updates one ticket and returns a receipt that can be verified.
Step 1: create the smallest project
Use the official SDK quickstart for your language. For a TypeScript prototype:
mkdir support-agent && cd support-agent
npm init -y
npm install @openai/agents zod
export OPENAI_API_KEY=your_key_here
Keep the key on the server. Never put it in a browser bundle or commit it to the repository.
Step 2: define read and write tools
Start with deterministic functions. A tool should do one thing, accept a validated input, and return structured data.
import { Agent, run, tool } from "@openai/agents";
import { z } from "zod";

const getTicket = tool({
  name: "get_ticket",
  description: "Read a support ticket by ID.",
  parameters: z.object({ ticketId: z.string() }),
  execute: async ({ ticketId }) => ({
    id: ticketId,
    customer: "Acme",
    issue: "Invoices are duplicated after a retry",
    priority: "high",
  }),
});

const updateTicket = tool({
  name: "update_ticket",
  description: "Add a response and status to one ticket after approval.",
  parameters: z.object({ ticketId: z.string(), response: z.string(), status: z.enum(["open", "pending", "solved"]) }),
  execute: async (input) => ({ ...input, receipt: `update-${input.ticketId}-001` }),
});
In a real app, the functions call your service. The schema is not decoration: it is the contract that keeps a model from inventing a second ticket ID or an invalid status.
Step 3: add the agent and a human boundary
Give the agent a job description, not a vague persona. Say what evidence it must collect, what it may change, and when it must stop.
const triageAgent = new Agent({
  name: "Support triage",
  instructions: `Read the ticket and policy. Draft a concise, cited response.
Never update a ticket until the user approves the proposed status and response.
If policy evidence is missing, say so and leave the ticket unchanged.`,
  tools: [getTicket, updateTicket],
});

const result = await run(
  triageAgent,
  "Review ticket T-1042, explain the duplicate-invoice policy, and propose the next step."
);

console.log(result.finalOutput);
The approval step belongs in your application, not in a sentence the model is expected to obey. Render the proposal, require a user action, then start a new run or continuation that is allowed to call the write tool.
Step 4: make the project observable
Turn on tracing in development and save a run ID beside your product request. Inspect:
- input and output tokens
- tool calls and arguments
- retries and errors
- approvals and write receipts
- time spent in each step
- whether the final state matches the requested state
An agent without a trace is a support ticket you cannot debug. Add a structured outcome record even if you do not yet have a full observability platform.
Step 5: add a subagent only when it earns its keep
Use a research subagent for work that can be isolated: finding relevant policy clauses, comparing two documents, or producing a shortlist. Keep the main agent responsible for the final decision and approval. The Agents API announcement highlights subagents as a way to parallelize work; parallelism is useful only when the tasks are independent and the extra calls improve completion time or quality.
Measure the addition. If the subagent adds 40% more tokens but never changes a decision, remove it.
Step 6: test the failure paths
Before calling this production-ready, create cases for:
- A ticket ID that does not exist.
- Policy that does not cover the question.
- A tool timeout after the draft is created.
- A user who rejects the proposed update.
- A duplicate approval click.
- A write that returns success but fails verification.
The success case shows that the agent can work. The failure cases show whether it can stop safely.
Step 7: add a cost and quality gate
Track cost per resolved ticket, resolution accuracy, escalation rate, tool errors, and human edits. Freeze a small evaluation set and compare every prompt, model, or tool change against it. Route simple password-reset requests to a cheaper path; send ambiguous billing disputes to the stronger agent; keep irreversible actions behind approval.
What to build next
Once the demo is reliable, replace the fake tools with real service adapters, add a sandbox for code or file work, persist sessions for long-running cases, and use a queue for work that does not need an immediate response. Keep the same shape: narrow tools, explicit approvals, observable traces, and a verifiable final state.
The Agents API makes the harness easier to reuse. It does not remove the need for product judgment. The best agent is still the smallest one that can finish a useful job safely.
Sources and resources
Interactive test
Run the agent workflow: plan, inspect, approve, and verify
Apply the return policy, check the order, and create a return only after approval.
Can you start a return for order 1042?
Read policy → look up order → confirm → create return
Read policy → look up 1042 → ask for confirmation
Frequently asked questions
Is the Agents API the same as the Agents SDK?
They are related but distinct. The API provides hosted agent infrastructure and a managed harness; the SDK provides application-level primitives such as agents, tools, handoffs, guardrails, and tracing.
Where should human approval live?
In your application workflow, between the proposal and the irreversible tool call. Do not rely on a prompt sentence as the only approval control.
When should I add subagents?
When independent research or work can run in parallel and the quality or latency gain exceeds the added tool calls, tokens, and observability complexity.
Bhaulik Patel
Forward deployed AI engineer and creator of Deployed Engineer.